
DIFFICULTY: Easy
Things you will need:
Things you will need:
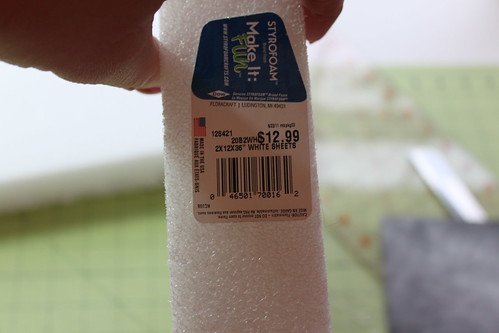
Styrofoam
Cotton Batting
Spray Craft Glue
White Craft Glue
Stitched Piece
Complimenting Material
Trims (cording, bows, ribbon, rick rack, etc)
Straight Pins
The type of styrofoam I use:
To make a custom size Cube, you will have to cut the styrofoam. I use a straight edge and a serrated knife.

For some cubes, I like a substantial width on them, so I will cut two pieces of styrofoam and then glue them together, or sometimes I just use one piece of styrofoam only - this will be up to you too on your project.
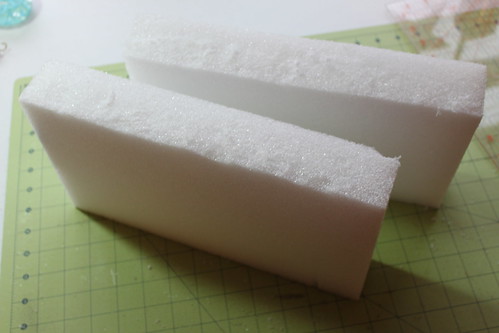
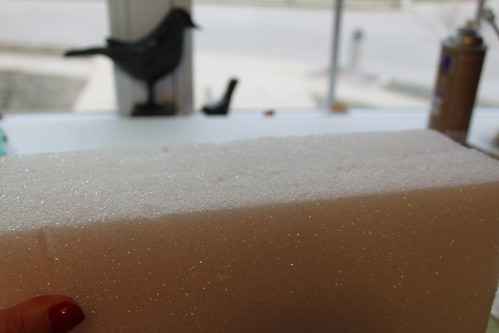
Using spray glue, spray one face of the styrofoam and press both pieces together. Your styrofoam will be uneven along the cut lines, lay a piece of sandpaper on the surface top and start rubbing all sides until each side is smooth and flat.

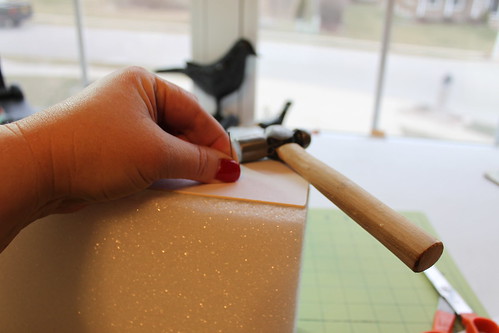
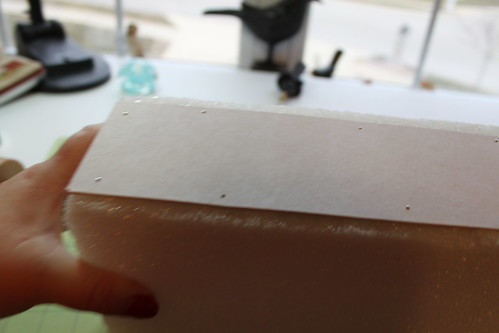
Now, once all the sides are smooth, I have a little secret that I do to make the top and the bottom perfectly flat. I tack (with straight pins) a piece of mat board all along the bottom and the top of the cube, as shown:
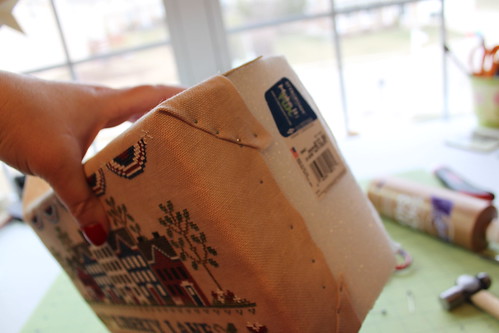
Next, spray the face and back of the cube with tacky spray and press a piece of cotton batting cut to size on both sides. On the front side, place the stitched piece, as shown:
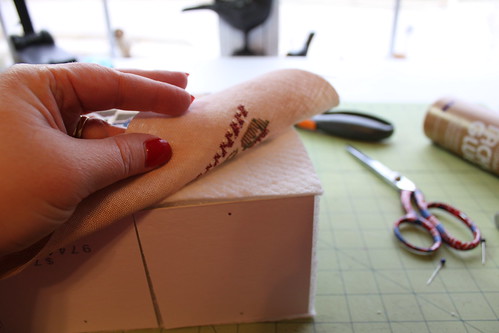
Using straight pins, center and pin the piece all along the top and bottom:
Then flip and pin the sides:
Fold the corners down to the side as shown and pin:
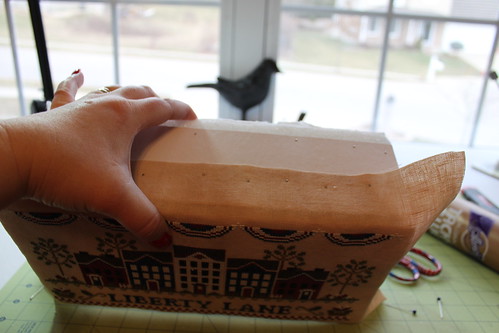
Take your complimenting material backing and pin, just as the previous steps:
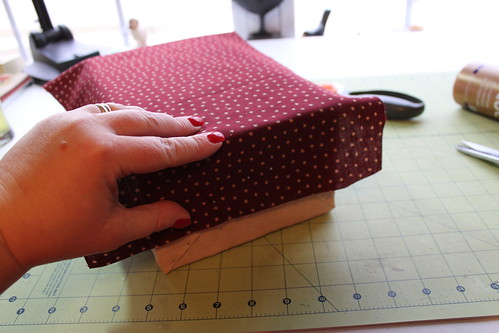
When all the pinning is done you will have a cube that looks like this:
The next steps I didn't photograph, but I will describe then at length:
1. measure the side of your cube (width) and the entire perimeter of the cube.
2. cut a piece of material that is double the width and the length +1 inch.
3. Iron this piece of material, light spray the wrong side of the fabric with your craft glue (just lightly to make tacky) fold one side of the fabric into the middle and then repeat until they slightly overlap in the center. This will make one long piece of fabric that you will wrap around the perimeter of the cube, hiding the raw edges and pins. IRON this long piece until smooth.
4. flip your cube to the bottom side up, in the center, lay one end of the long piece of material and using straight pins and your hammer, pin the end to the bottom of the cube.
5. Now pulling tautly, lay the fabric all around the perimeter of the cube until the final end meets on the bottom. (it will overlap where you started, cut to 1/2 in from the start (hiding the pins from where you started) and pin this end with three pins (they will show but will be hidden because they are on the bottom).
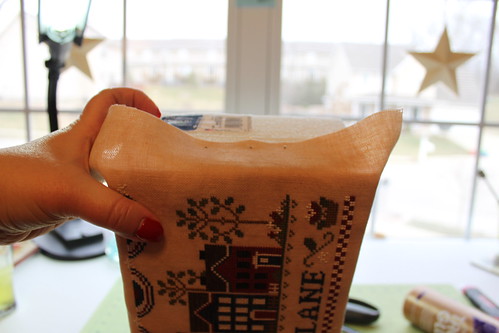
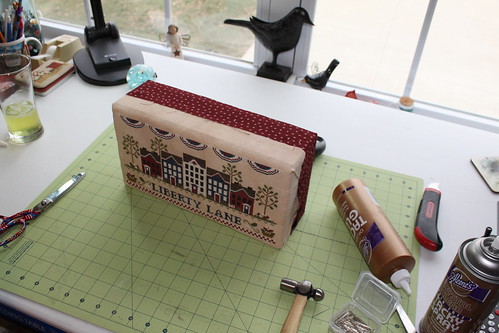
You can clearly see the side material piece here:
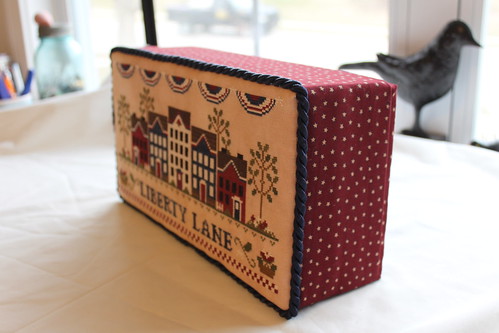
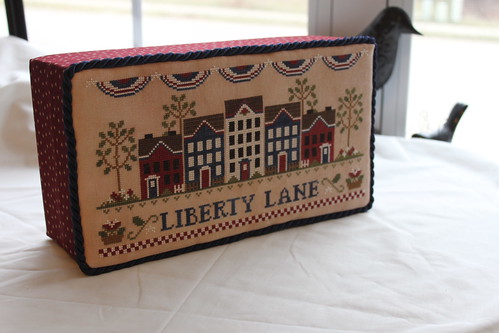
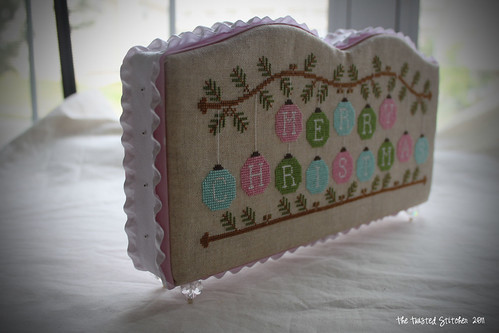
Once the material piece has been pinned and is finished, just embellish by putting cording around the face of the cube, layering the tops/sides with ribbon, rick rack, topping with a bow, topping with pins, etc. Please look at some of my cube examples for ideas:
Use my tutorials, copy my ideas, use my techniques, hints or tips? Please remember to give credit to my name: Vonna, The Twisted Stitcher ~ Thank you.