
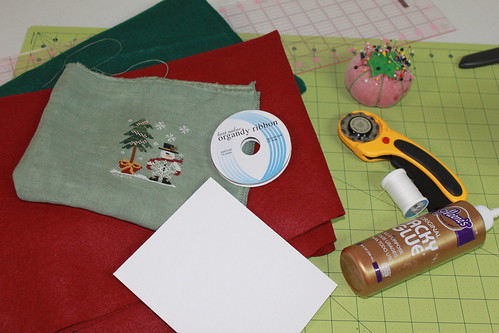
Gather your supplies:1. Wool Felt: choose two different (or one) color(s) that compliments your design. I get wool felt off the bolt at my local Joann's, but if you can't find it, I have purchased from this excellent source online: Wool Felt Central. Or you can just use felt sheets from a craft store the choice is yours!
2. Scissors
3. Aleene's Tacky Glue (or white craft glue of choice)
4. Complimenting Ribbon for hanger and bow
5. Acid Free Mat Board
6. Rotary Cutter with "WAVE" blade (or pinking shears or a pinking rotary blade)
7. Needle and Thread (complimenting the ribbon color so that it is invisible)
8. Cotton batting
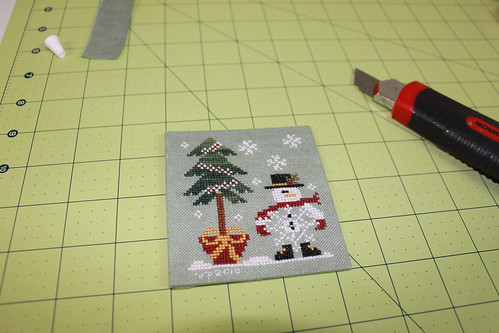
STEP ONE:
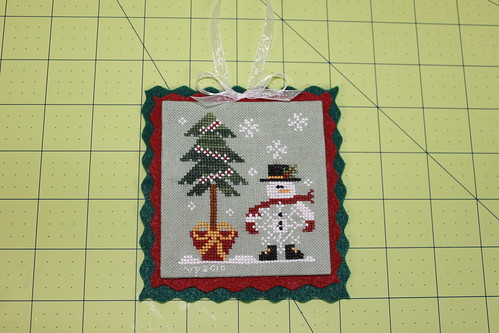
Measure your stitched piece and determine the amount of "free space" around your piece that you wish to have. (On mine I chose 1/4 inch, this made my mat board cuts 3 1/4 inches x 3 1/2 inches.) Cut the mat board out and mount the stitched piece onto the mat board (I did use quilt batting on the mat board to soften the top not pictured) Glue the edges to the back until your piece looks like this:
 STEP TWO:
Take the newly mounted piece and place (do not glue - just lay it down) on the first color choice of wool felt, then rotary cut along a 1/4 inch margin around the piece. Until it looks like this:
 **HINT**: to get corners that look nice, put the apex of the "wave" (the point of one) on each corner before you start cutting. Do one side having the point of a wave on the corner - cut to the next corner, turn, line up the point of the wave on the second corner cut, turn, and so on....
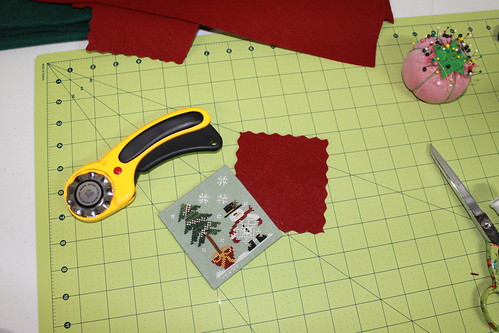 STEP THREE:
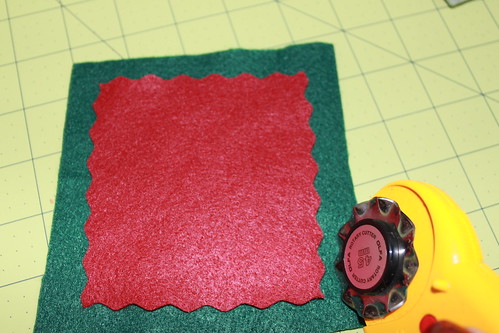
Now take the wave cut piece and lay it down on the second color of wool felt. And rotary cut around the sides.
 **HINT**:
This time to get the "waves" to be "off set" (yes, I'm anal) put the point of the wave blade on the top of the wave wool cut already (in photo see that the point of the rotary blade is matching up to the point of the wave already cut out?) Line up, cut, turn, line up cut, turn, etc as done in the previous step. See how the "waves" are offset?:

STEP FOUR:
Cut a length of ribbon for a hanger and glue to the back piece (make sure it is centered appropriately or it will not hang straight!). Glue your mounted piece onto your first wool piece:
 STEP FIVE:
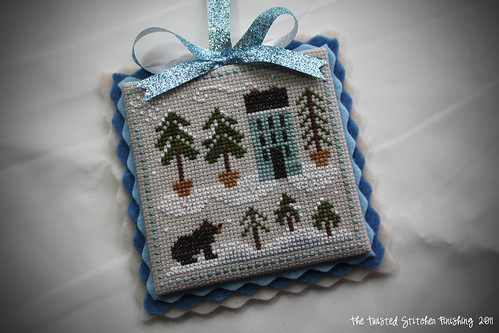
Glue top piece to the back piece. Cut a length of ribbon, make a simple bow and sew onto the ornament. Put the ornament inside a plastic bag (to protect it) Leave the top "unzipped" so that the ribbons and bow can hang out and not get crushed) then but a heavy book or something on top so that it all dries flat and smooth:
 ~~Pat yourself on the back, 'cause that's one snazzy ornament~~
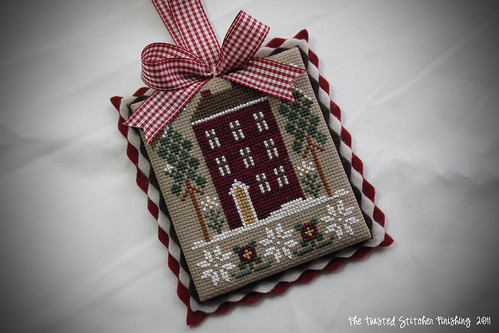
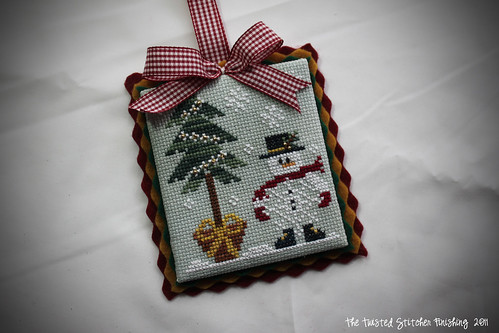
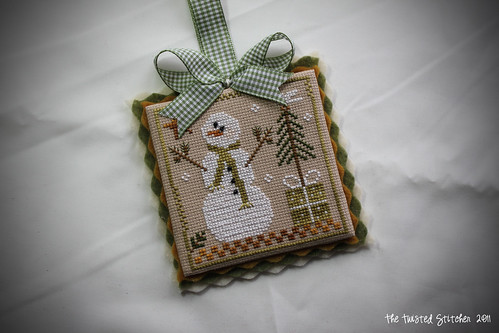
I've updated the look a bit since posting this tutorial how about these triple mounted felt ornaments, eh? Pretty snazzy!
Use my tutorials, copy my ideas, use my techniques, hints or tips? Please remember to give credit to my name: Vonna, The Twisted Stitcher ~ Thank you.