
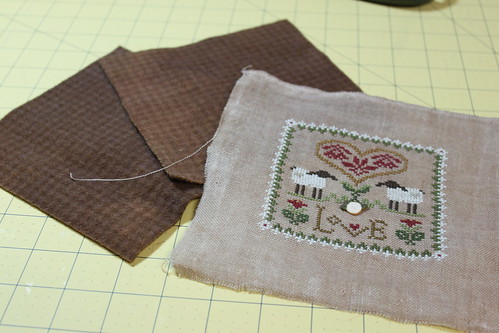
Gather Supplies Needed:
Stitched Piece
Wool (or Felt) for pillow
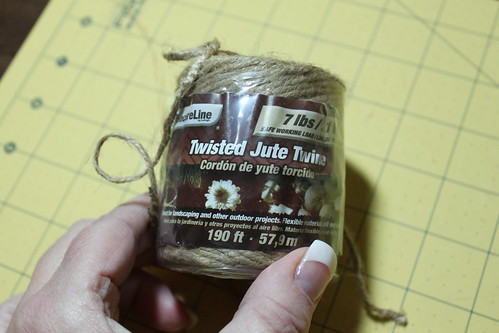
Jute (or fiber of choice for cord making)
Cording Drill
Fiber fill
Needle and thread
Floss color of choice for Button Hole Stitch
Chenille Needle
Step One:
Gather items and prepare.
- cut two pieces of wool to dimensions you prefer (in this tutorial I cut my wool to 6 inches square)
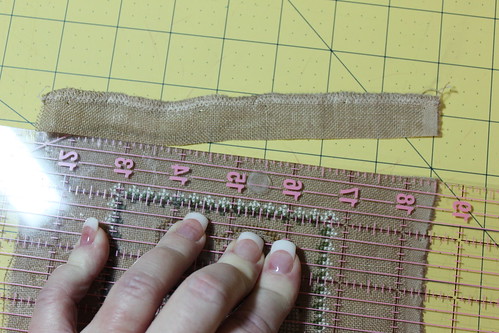
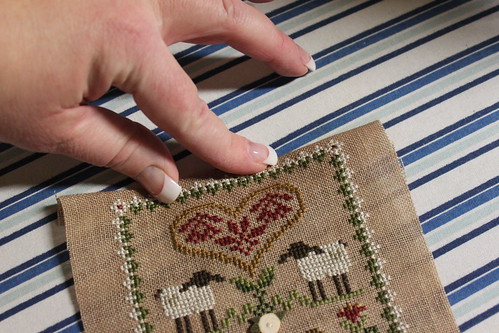
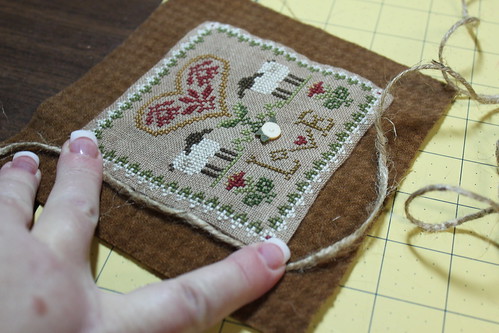
- trim your stitched with 3/4 inch margins left on all sides
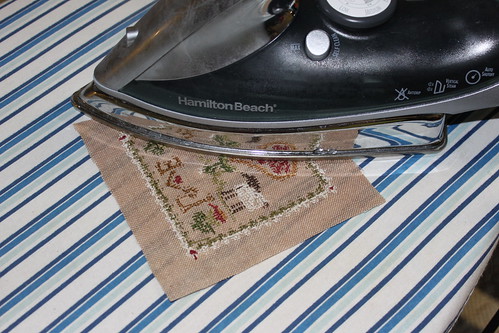
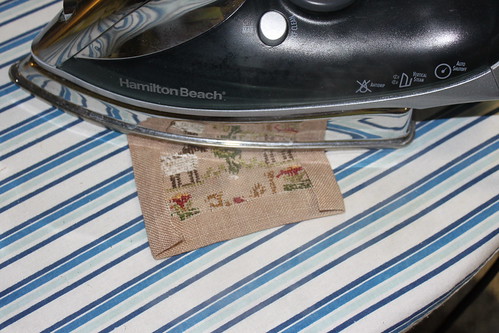
Step Two:
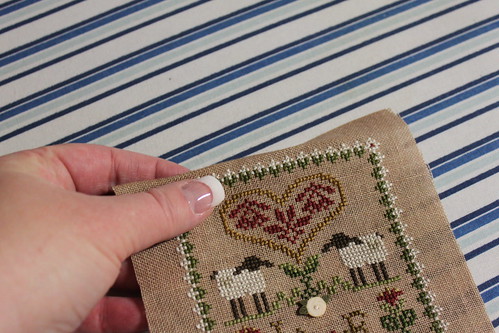
iron you stitched piece from back; while still hot, fold margins and finger press; then iron from back to make edges clean.
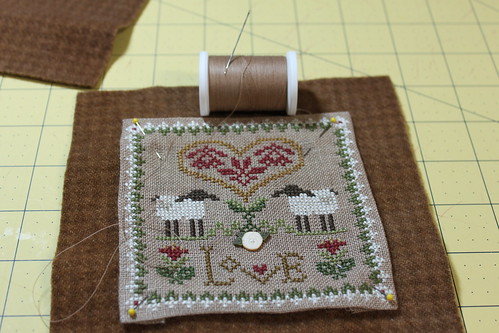
Step Three:
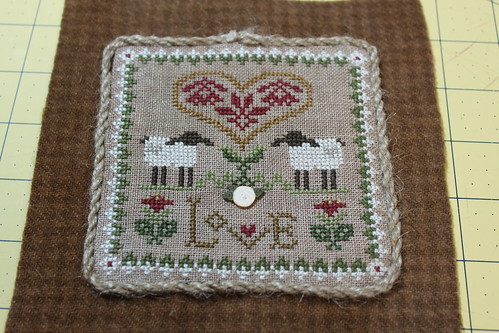
center and pin the stitched piece to your wool; using coordinating thread, tack the stitched piece to the wool on all four sides.
Step Four:
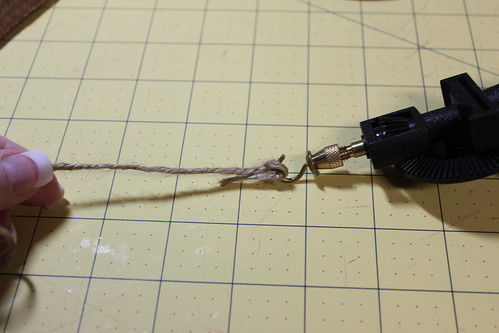
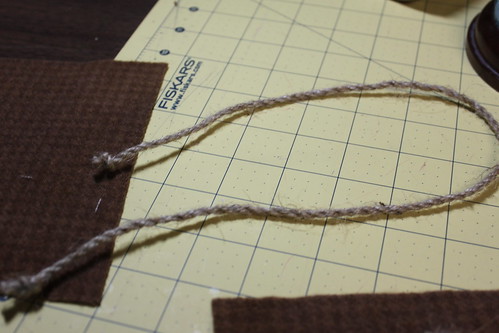
- take whatever fiber you wish to make into cording, I used single strand of jute found in hardware section of Walmart.
- view cording tutorial here: Cording Tutorial
- to find length fiber to cord, drape around edge of piece to get initial length then make it 4 lengths of that initial length long
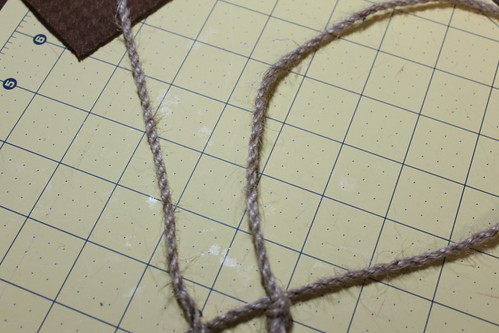
- twist with Krenik cording drill
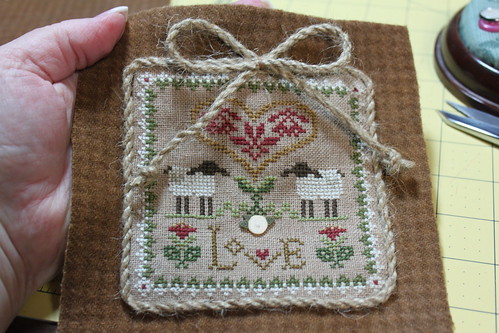
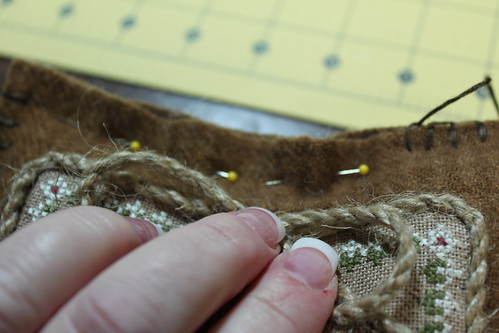
Step Five:
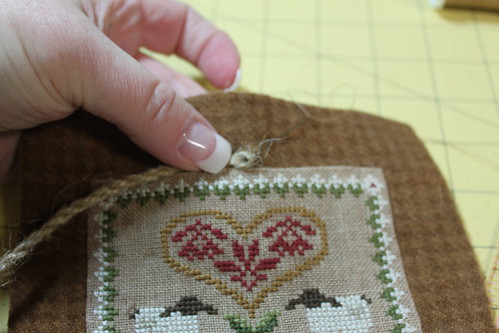
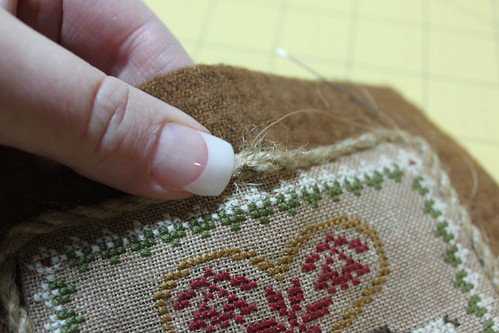
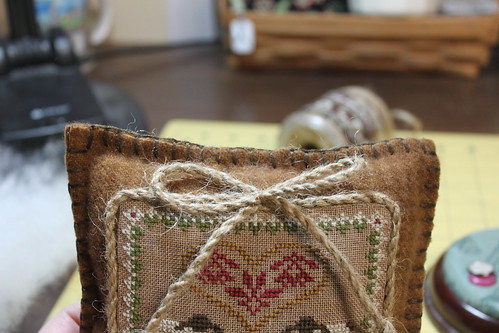
- take folded end of cording, place at the top middle of stitched piece and tack down
- continue tacking the cording in place around all four sides until the cording meets at the top center
- cut the cording end and then sew ends by wrapping, sewing through and tacking down at top of stitched piece at the met end
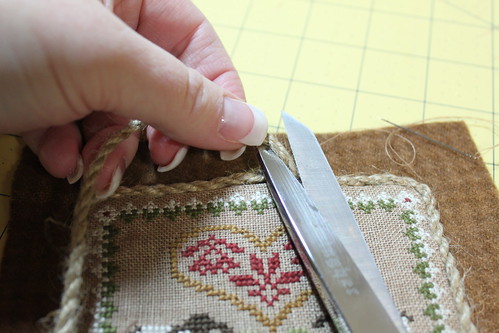
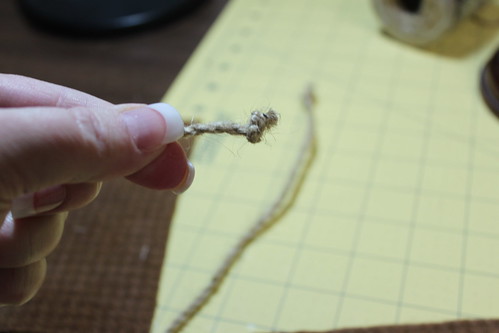
NOTE: Don't forget to tie off the end of the cut-off cording and set aside, this will be used for the bow!
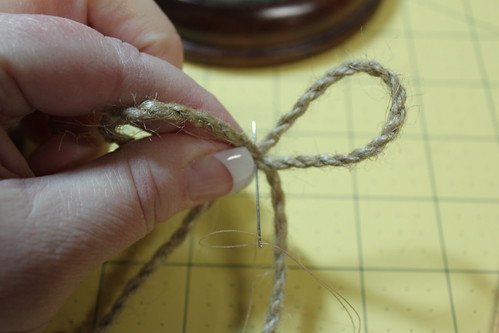
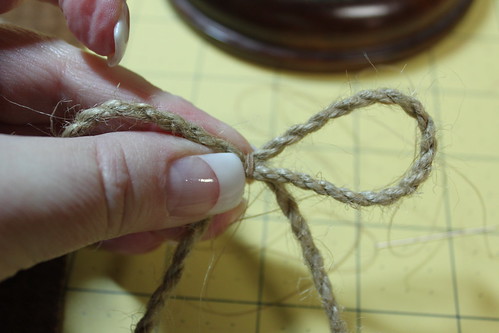
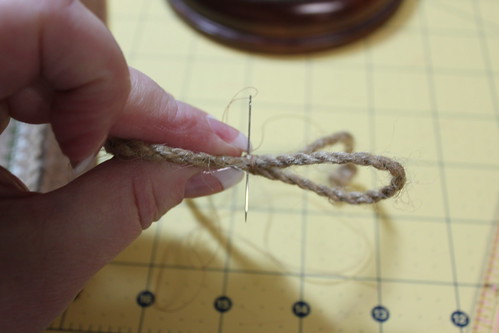
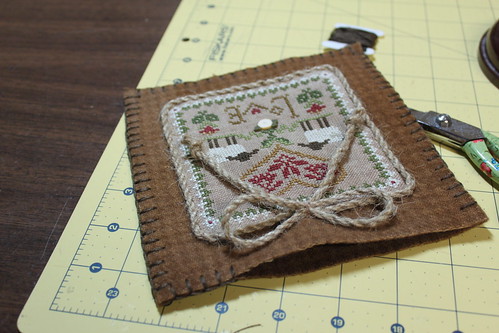
Step Six:
- Make bow by folding ends in an "X" shape
- sew middle to hold together
- wrap middle to make secure
- sew middle again
- tack on to top center, hiding met ends of cording
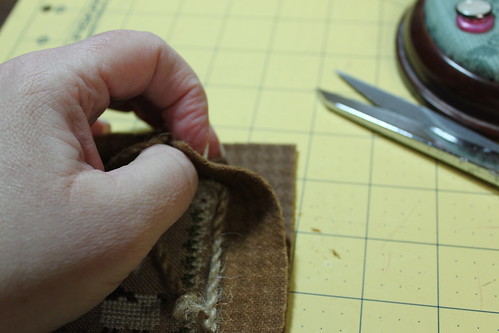
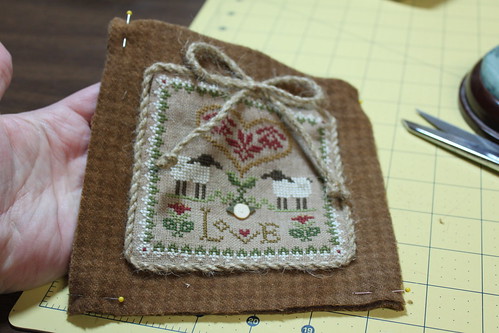
Step Seven:
- Stack top wool piece onto bottom wool piece
- pin in place
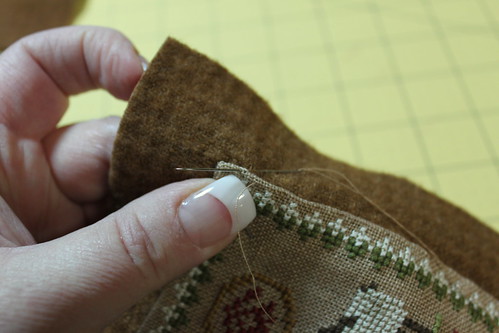
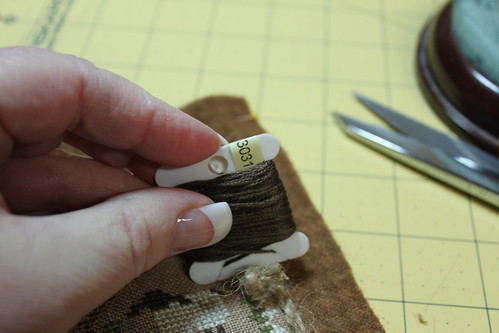
- button hole stitch together (I used 3031 DMC - all six strands to button hole stitch; using Chenille needles)

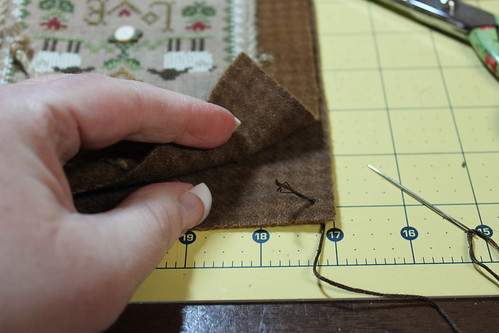
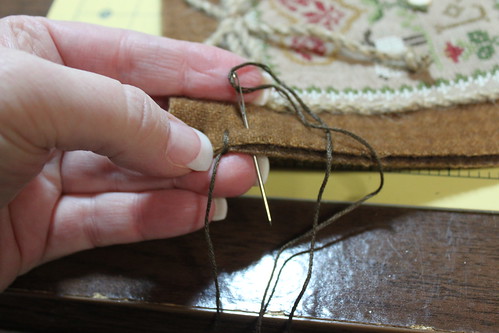
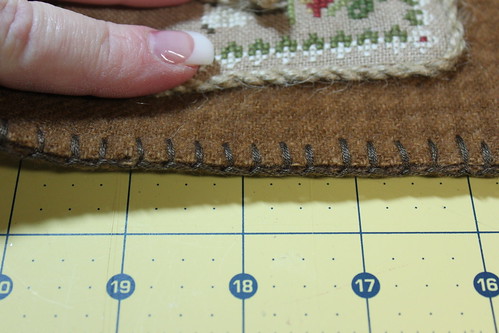
**BUTTON HOLE STITCH:**
Take length of thread (I used 6 strands of DMC in this example on a Chenille needle); knot at one end, and place it at the corner on the inside (between two pieces sewing together).
See pictures to follow how I button hole stitch:
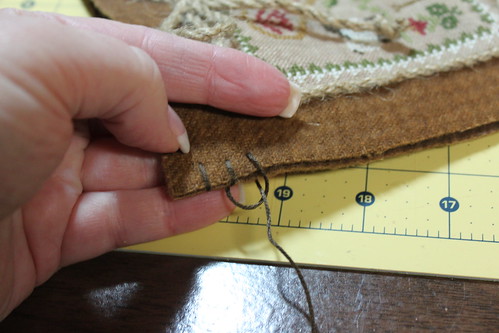

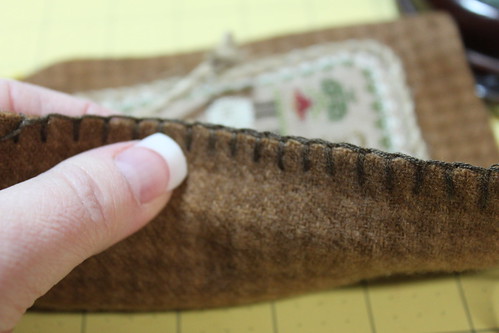
Step Eight:
- Continue to button hole stitch all around until about 1/2 of pillow remains open
- stuff with fiber fill to desired plumpness
- pin together and finish stitching together with the button hole stitch

Step Nine:
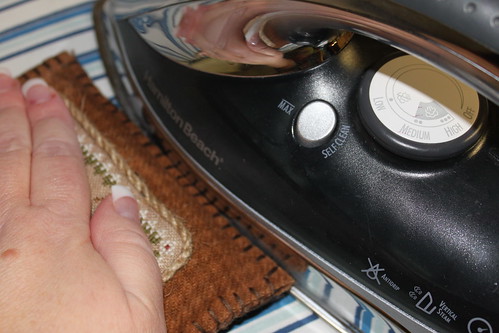
I iron my button hole stitched sides so that they are perfectly flat and not curled.
Then I iron (the back) of the pillow, using steam, to sort of shrink down the fiberfill and make it appear smooth and not clumpy.

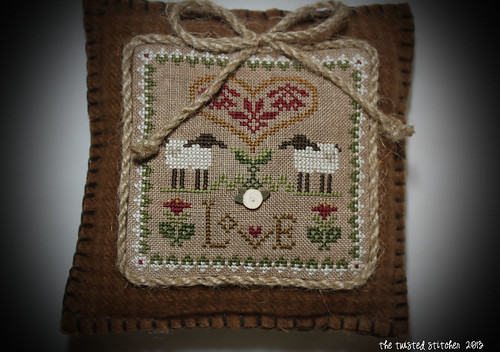
PERFECTLY FINISHED!
Use my tutorials, copy my ideas, use my techniques, hints or tips? Please remember to give credit to my name: Vonna, The Twisted Stitcher ~ Thank you.